About this deal
After applying the adhesive powder, you can follow the same steps as with light fabric transfer paper. Position the design face-down on the fabric, iron it with firm pressure, and peel off the transfer paper while it’s still warm. The result is a bold and eye-catching design on your dark-colored fabric. Skip the fabric softener: Fabric softeners can create a barrier between the iron on print and the fabric, affecting its adhesion and durability. It’s best to avoid using fabric softeners when washing these garments. When it comes to applying and transferring your design using iron on printer paper, you have a couple of options: ironing instructions or heat press instructions. Each method has its own advantages and considerations, so let’s dive into the details.
Print the transfer. Before you print your transfer image onto the transfer paper, do a test run by printing your image on a regular piece of paper. This test run helps to make sure that the colors of the image are how you want them to look, see if your printer will print the entire image rather than cutting a section out, and to see the size of your image. Sometimes how your image looks on the computer screen is different than how it looks once it is printed. [9] X Research sourceProper washing and drying techniques are crucial to preserve the quality of your iron on printer paper designs. Follow these guidelines to keep your prints looking their best: Your transfer paper should specify how long to iron. It may take anywhere from 30 seconds to a few minutes. Once the heat press machine is heated, place the design on the fabric with the printed side facing down. Ensure proper alignment and positioning. Use a Clean and Dry Iron: Before applying the transfer, make sure your iron is clean and free from any residue. Additionally, ensure that the water reservoir is empty, as steam can interfere with the transfer process. Set the iron to the appropriate heat setting recommended by the iron on printer paper manufacturer. Print the Design: Once everything is set up, hit the print button and let your printer do its magic. Make sure to use the appropriate print settings for your design and fabric type. If your printer offers different quality options, choose the highest quality setting for the best results.
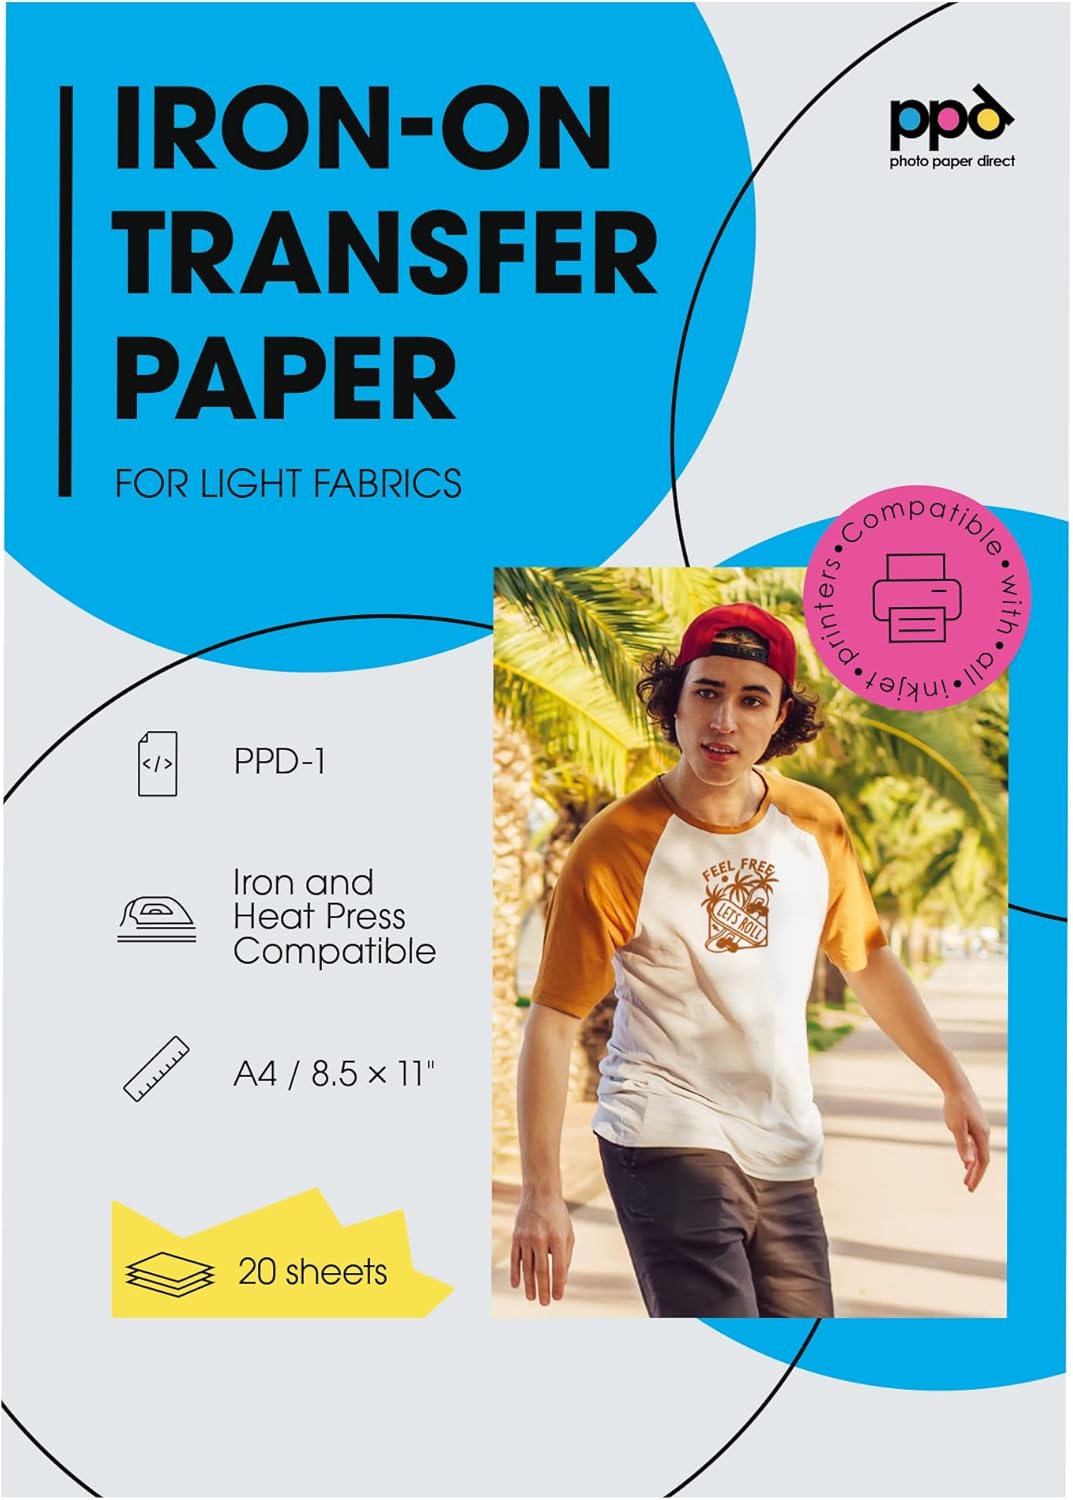
First time users are often unsure if their home (or business) Inkjet printer has suitable inks to allow the paper to work. This concern is unfounded, as normal inks will work just fine. The secret to the transfer process lies in the paper rather than the ink so there is no preference as to which printer or which ink you use as long as you are using an Inkjet printer. Remove the iron and let the image and t shirt cool for at least a few minutes. The paper should feel room temperature. Turn the garment inside out: Before washing, always turn the garment inside out. This will protect the design from friction and rubbing against other clothes or the washing machine drum. In the next screen, you’ll be able to choose if you want to Print then Cut or a regular Cut image. In this case, choose Print then Cut. If you’re looking for a more professional and precise method, using a heat press machine is the way to go. Heat press machines provide consistent heat and pressure, ensuring a high-quality transfer. Here’s a step-by-step guide on how to use a heat press machine for iron on printer paper:If you ever need to remove an iron on printer paper design, there are a few methods you can try. Here are some options for safely removing the design: To make our shirt, we’re going to use Cricut’s Print-then-Cut feature. This process allows us to print a design on our home ink jet printer, cut around the edge of the image using the Cricut, and then adhere to a blank using heat. Let’s get started! Setting Up Your Image in Design Space Iron on printer paper is specifically designed to be used with inkjet printers. The paper has a special coating that reacts to heat, allowing the ink to transfer onto the fabric when pressed with an iron or heat press. The purpose of iron on printer paper is to provide an easy and convenient way to customize fabric items with your own designs or artwork. Whether you want to create personalized t-shirts, tote bags, or pillowcases, iron on printer paper allows you to turn your ideas into reality. Iron On Transfer Paper is commonly referred to as ‘T-shirt paper’ because it is often used to transfer images, text or a combination onto fabrics. Applications however are not limited to T-shirts and the paper can be used on aprons, cotton bags, pillowcases, tablecloths and even on hard surfaces such as wood. When washing we recommend that you turn the garment inside out so the image or text do not rub against the machine or other garments. Next you should select a 40 degree wash with a full spin cycle. Most fabrics can exceed 15 washes and an average seems to stand on 20 washes. It is important to note that washing detergents that contain bleach will cause the image to fade prematurely.
Consider trimming close to the edges of your design, because the transparent areas of the paper surrounding the design can still be seen on the fabric. Iron the Fabric: Once the fabric is clean and dry, iron it to remove any wrinkles or creases. This will provide a flat surface for the transfer and prevent any distortions in the design. Set your iron to the appropriate heat setting for the fabric type. Follow washing guidelines: As mentioned earlier, following the recommended washing and drying guidelines will help maintain the vibrancy and integrity of your iron on prints.Congratulations! You’ve just printed your first shirt with the iron on transfer method. Pros and Cons of Iron on Transfer to Print Your Own T Shirt at Home Pros: Finally, you’ll need to resize your image to fit on your shirt. I like using templates when making shirts—they help me determine how big my image should be. You can learn more about Using Templates in Design Space. Use the right kind of transfer paper. Transfer paper comes in two different variations: transfer sheets to be used on light colored fabrics, and transfer sheets to be used on dark colored fabrics. Using the right kind of transfers sheets can help ensure that you get the best looking results from your iron on transfer. For example: Taking care of your iron on printer paper designs is essential to ensure their longevity and vibrant appearance. In this section, we will discuss the washing and drying guidelines for your iron on prints, how to maintain their longevity, and how to remove them if necessary.
 Great Deal